Mastering the Node.js REPL, Part One

One of the tools I always had in my belt but never paid too much attention to is the Node.js REPL. REPL stands for Read-Eval-Print-Loop, and that is what it does: It reads an input, evaluates it, prints the result and starts the process again. I only used it when I needed to quickly test a regular expression or try a forgotten API method.
Then I realized I wasn’t taking full advantage of its potential.
The basics
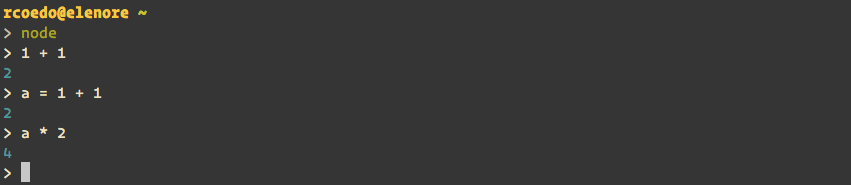
The typical way to start the Node.js REPL is by invoking the node command without arguments. The prompt will change, and you can begin typing. Node expects you to input an expression and will print the result of that expression:
Standard libraries
The Node.js REPL also loads all the standard libraries in the global context, so they are available to you:

Autocompletion
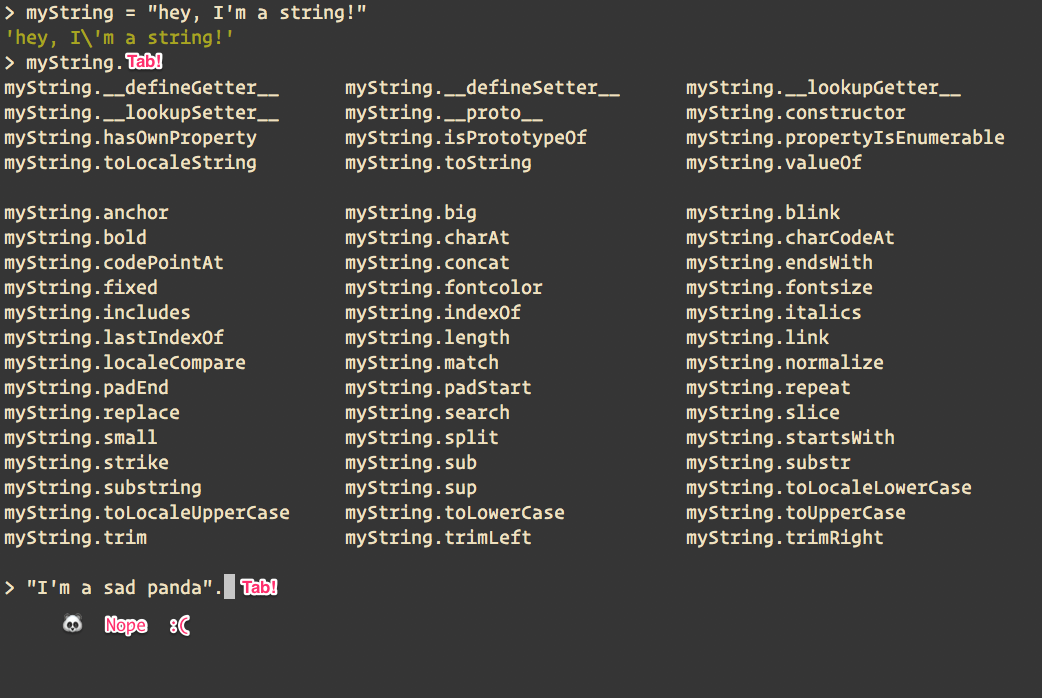
Another cool trick often forgotten is the autocompletion key. The node REPL autocompletes commands when you hit the tab key. Unfortunately, this does not work with expressions:
The underscore character _
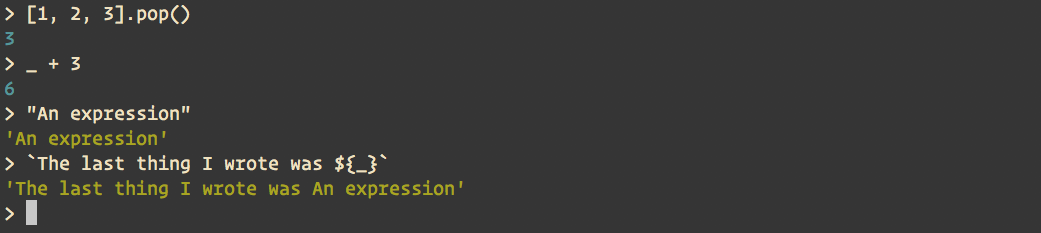
In the Node.js REPL, you can reference the last value using the underscore character _:
Node.js REPL commands
There are some special commands that you can send to the REPL. These commands start with a dot.
The .exit command
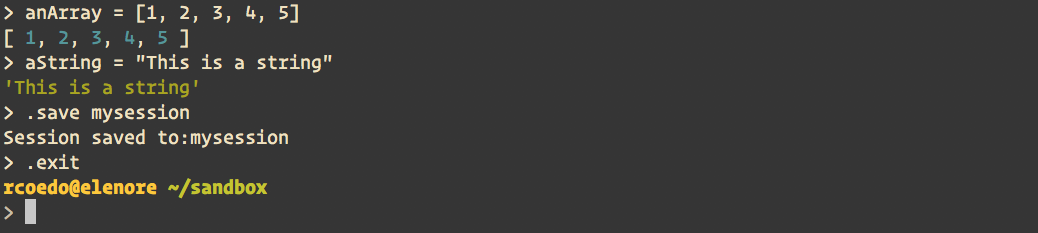
The .exit command finishes the REPL session. It’s the same as sending an End-Of-File by pressing ctrl-d.
The .save and .load commands
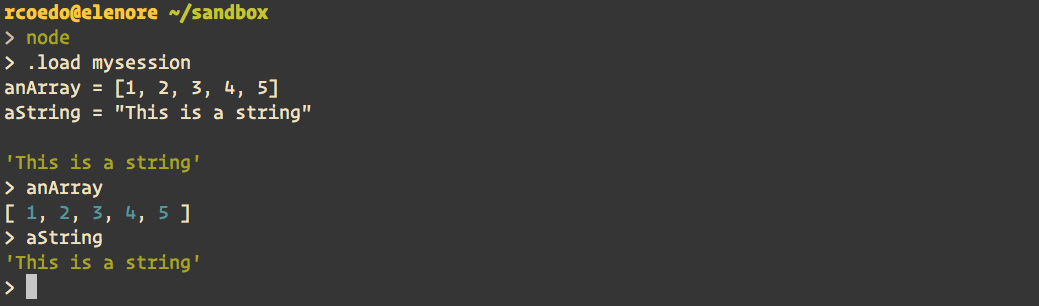
.save and .load are helpful commands when working with the REPL. .save allows you to save your current REPL session. The output file is a list of every expression you’ve run in that session:

Now we can load the session back into the REPL with the .load command:
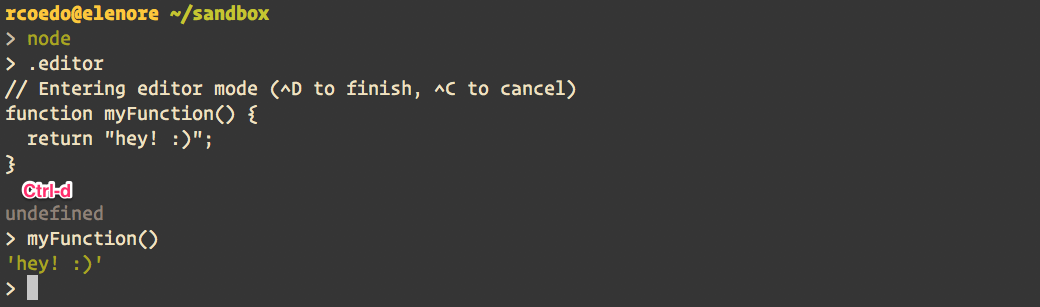
The .editor command
The .editor command is particularly helpful when you need to type multi-line content, even though I haven’t yet found a way to navigate up and down the lines:
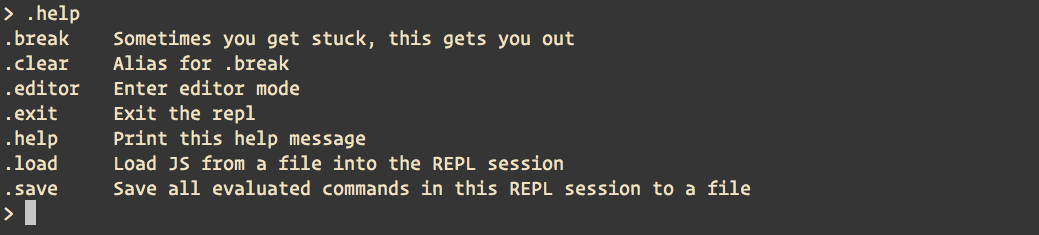
The .help command
To get a list of the available commands, you can use the .help command:
Using await within the REPL
Using await within the REPL is an experimental feature available for Node.js@10 and beyond. You can activate it by passing the special flag --experimental-repl-await:

REPL history
By default, the expression history is persistent. Every expression you evaluate in the REPL is stored in a .node_repl_history in your $HOME. This option can be disabled by setting the environment variable NODE_REPL_HISTORY to an empty string.
Using rlwrap
Another cool trick you can do with the default REPL is wrapping the readline with rlwrap. For this, you need to set the NODE_NO_READLINE to 1. You could make an alias for it:
alias node="env NODE_NO_READLINE=1 rlwrap node
Now, if you hit ctrl-r, you can search your command history.
Wrapping it up
In this post, we have covered the basics of the default node REPL. In the second part of this series, we will use the standard Node.js repl library to customize it.
Stay tuned!